There are plenty of ways to add grain to your artwork in Illustrator. Like me, you may have acquired brush and texture packs over the years… but then found that the sheer number of tiny vectors involved significantly slows down the software.

Here is a method using a bitmap filter. I always try and avoid rasterisation in Illustrator; but the upside here is that it is fast to work with, and adjustable.
Make a new ‘Web’ document with a canvas of 800 x 800px. The Colour Mode should be RGB. Setting Raster Effects to 72dpi works well — lower resolutions make the grain appear larger.
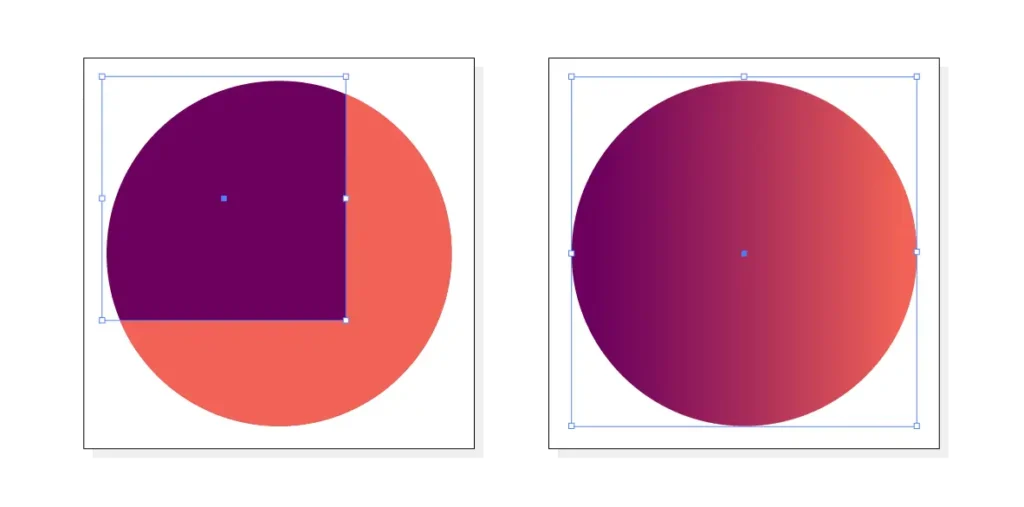
Draw a circle. Then put a duplicate over the top, by pressing Cmd+C (copy) and then Cmd+F (Paste in Place). For this second circle, change the fill colour, this will be the grain. The colour decision isn’t final, so don’t worry about that!
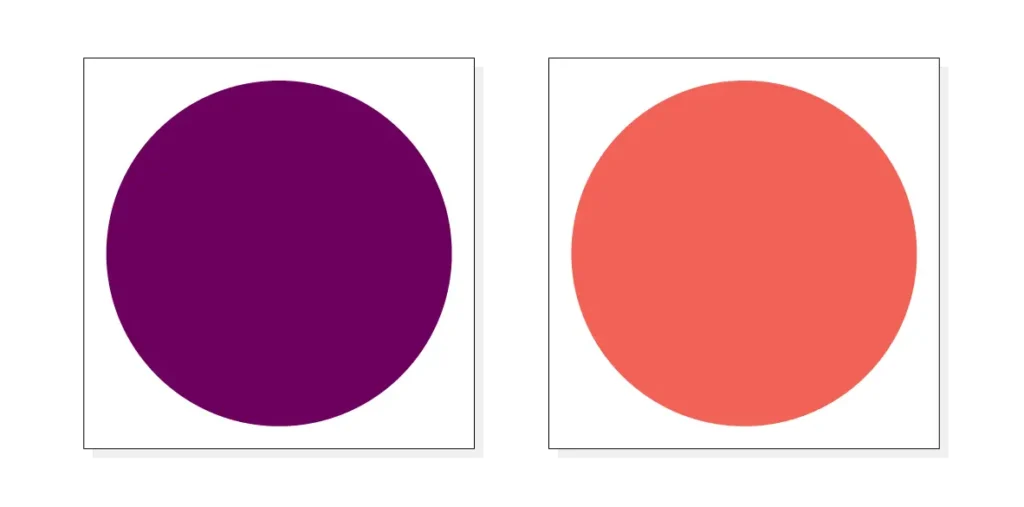
The left diagram is our background circle. On the right a different coloured copy has been pasted over the top of the original.
With the top shape still selected, go to the Transparency palette and click Make Mask. Uncheck the Clip box and then click on the white box to enter Mask Mode.
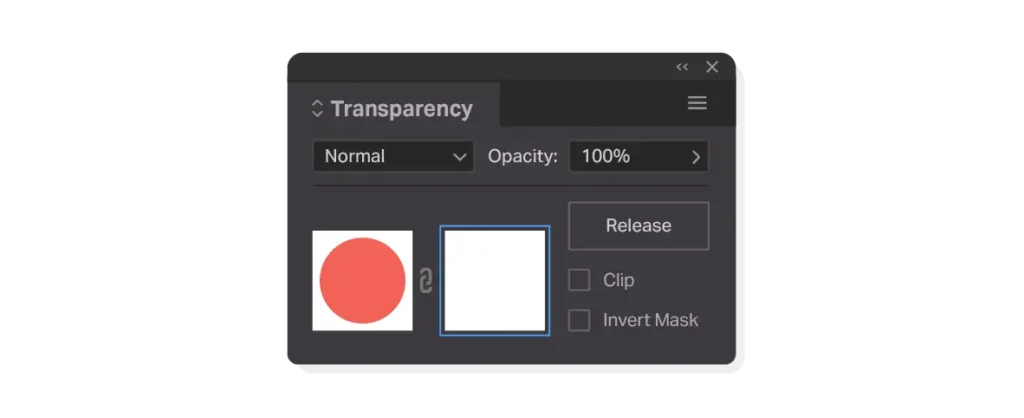
The Transparency Panel should look like this in Mask Mode. Simply click the right box to edit the mask and the left box to go back to your normal artwork.
Now draw a box across the artboard. As a test, if you fill this black then you should notice that it is hiding our top circle and showing the shape behind!
The left image shows what happens with a black box in a mask mode shape – it hides the parts of the shape it spans. On the right is how it looks with a black and white gradient applied.
Make the fill of this box a black & white linear gradient. The mask hides the dark portion and shows the white area – the blend in a gradient is recreated with levels of opacity.
Now the fun part! Go to Effect > Texture > Grain… For Grain Type, choose Stippled. Playing with the Intensity and Contrast values can help with the smoothness of the transition. This is a matter of taste! It’s worth noting that you can always come back and edit these settings, using the Appearance panel (Window > Appearance) and then clicking on the Grain item in the listed properties.
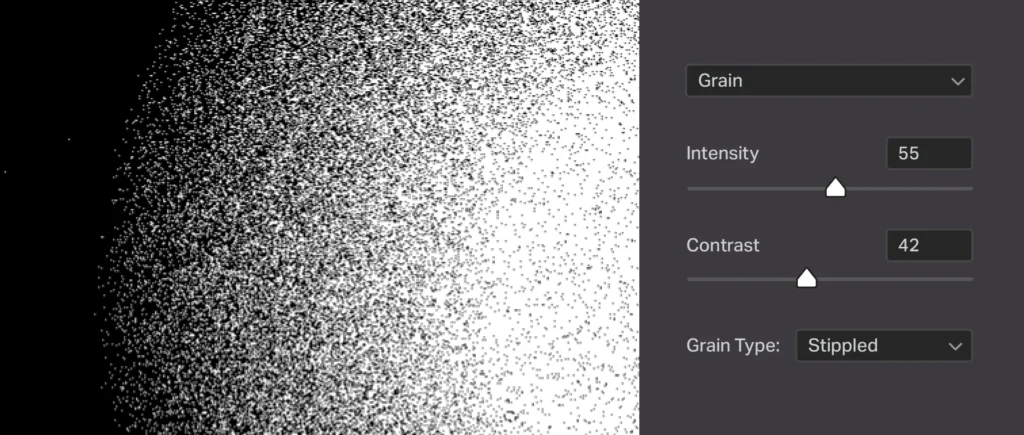
A portion of the Grain window, showing the available controls. Feel free to try out other types of grain.
Next, Press G to select the Gradient tool and drag it across the rectangle fill. You will see that you can adjust the gradient to your heart’s content. You can play with the angle, stop positions on the slider, or even change it to a radial gradient! Coming out of Mask Mode, you can also change the colour of the grain, and that of the background shape.
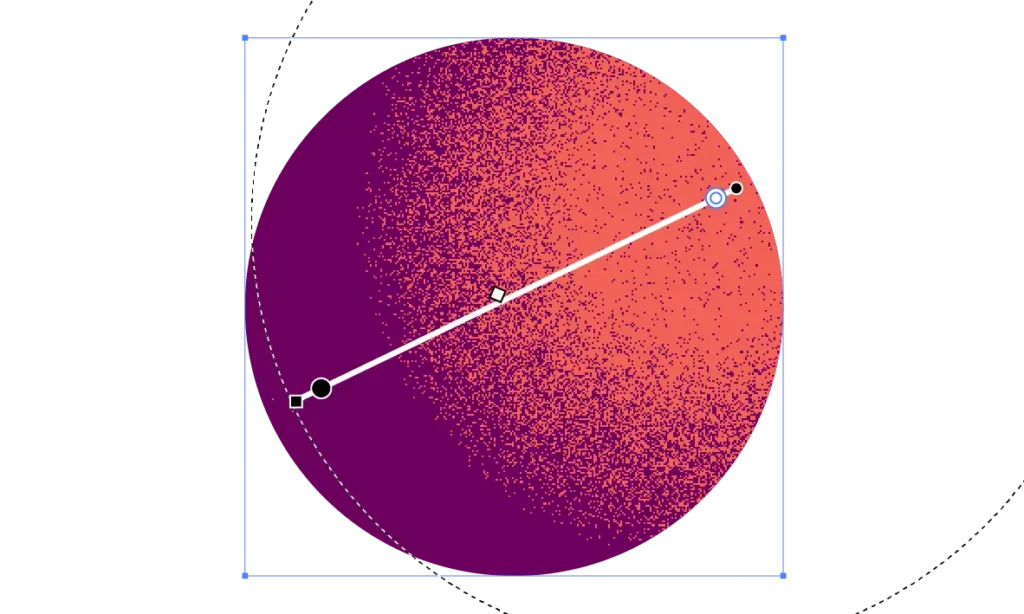
Our top shape is now a grainy gradient, and better yet, this is a live effect!
If you need a vector output — I would suggest working in black & white, and exporting the result. Drop the new image file into Illustrator and use the Auto Trace function.
Happy graining!
—
Header Image: From the quite brilliant Everett Collection on Shutterstock.


