There are some good reasons to apply grain to your photographs. You may desire a more film-shot appearance, or wish to prevent problems when printing very smooth gradients – such as in a sky. Here are some methods to do so in Photoshop.
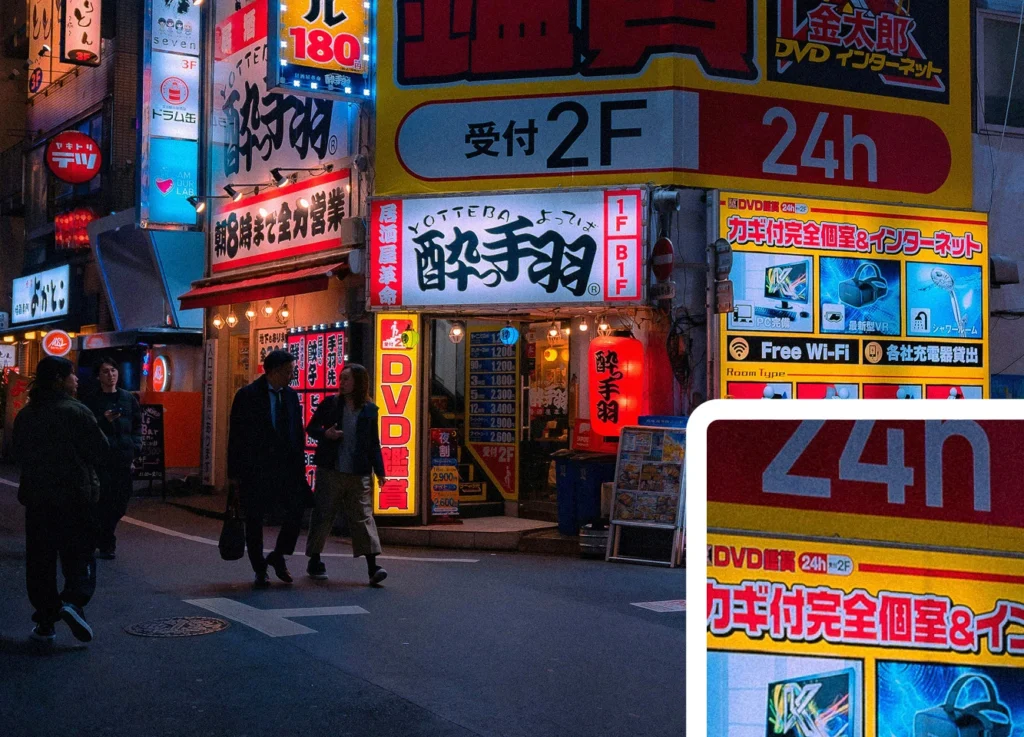
This is the original image. I’ve chosen a night shot of Tokyo by Mos Design from Unsplash which should show off the effects described below.

The original pre-grained image.
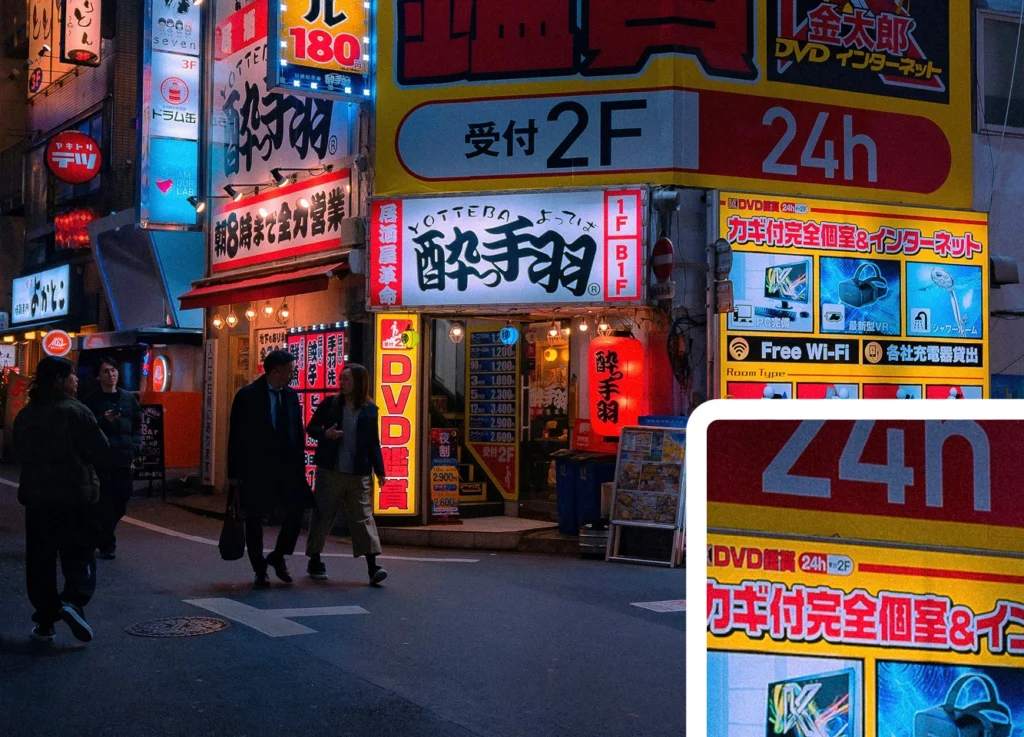
1: There are a few methods to pull this off, with the first being the Noise Filter. Simply go to Filter > Noise > Add Noise… In the window that appears, you can play around with the strength of the effect and make it monochromatic if needed. But this doesn’t result in a very organic looking grain.

With the Add Noise Photoshop filter applied.
2: You can achieve a very pleasant grain with a different method: Filter > Camera Raw Filter…
This opens up the Camera Raw window, which provides all sorts of fine control that photographers utilise with their Raw files following a shoot. On the right hand side, look for Effects, where there should be a Grain option. Here you can adjust the grain intensity, size, and roughness.

Following the application of grain using Camera Raw.
3: A final method would be to utilise an existing image of a texture. This could be a photograph of something like spray paint or a road surface; or a scan of something like glitter paper or a printing screen.
Simply drag that image into your Photoshop document, above your base image. Now go Filter > Other > High Pass… you can experiment with the Radius of this tool. Once you’ve settled on something, change the Blending Mode of this layer to Overlay and adjust the transparency until it looks right to you.

Here is a more organic grain or texture that is only really possible using scanned real-world assets.
As you can see, for each of these methods, you can play with certain settings to change the intensity of the effect. What is ‘right’ is completely subjective and image-dependent. Happy experimenting!
—
Header Image: From the quite brilliant Everett Collection on Shutterstock.


