Whatever you may think about Artificial Intelligence and its growing place in the visual arts; it’s hard to deny how impressive some of the results or applications are, even in these relatively early days.

Before AI possibly devours a large number of creative jobs, and understandably not wanting to be left behind; Adobe are busy adding new Generative AI features to their software. Which does beg the question: ‘Do androids dream of paying a Creative Cloud subscription?’
Anyway, I’m going to show you a new feature that really blew my mind when I started using it: Generative Expand. It’s really saved me a great deal of time already.
As an example, let’s imagine that you have a portrait image which worked perfectly well for the document cover you just designed… but you now need a version in landscape format for a presentation slide! Now, this isn’t something that was impossible before, but would likely have required some advanced Photoshop skills and plenty of time, depending upon the complexity of the original.
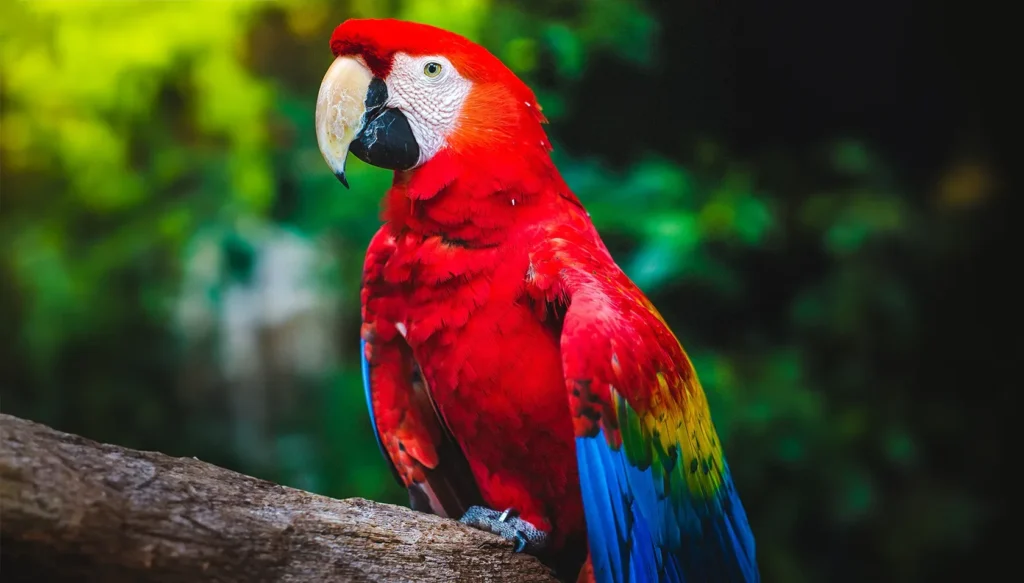
With a portrait image of this beautiful Scarlet Macaw by Christopher Alvarenga on Unsplash, let’s get busy!
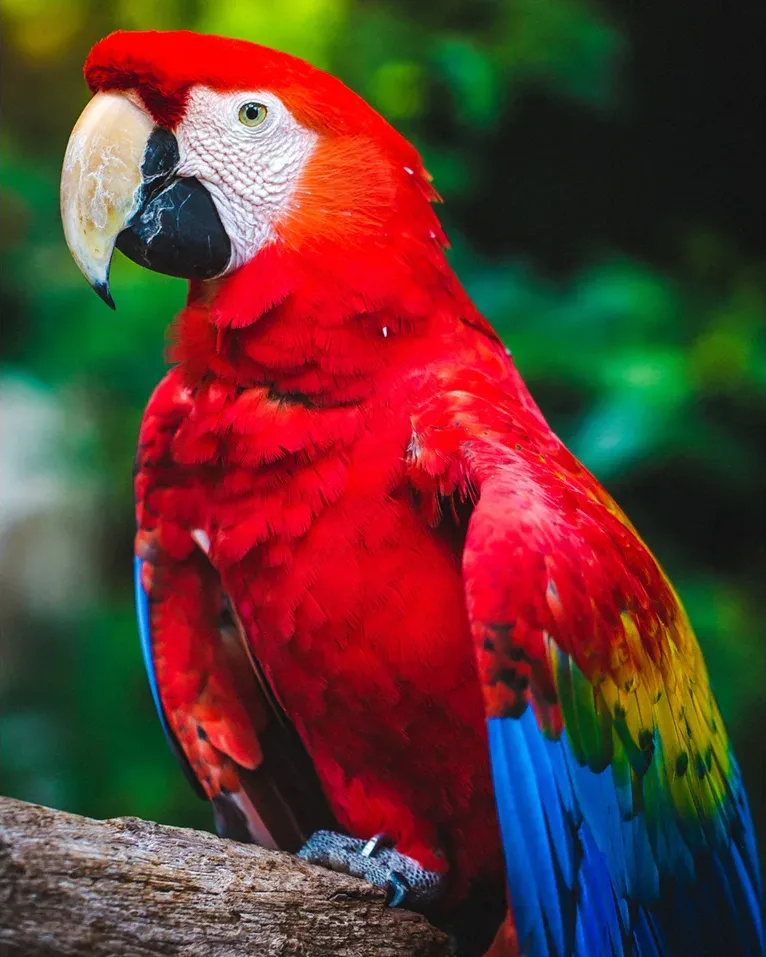
Here is the original portrait image.
Open your image in Photoshop. Now go to Window and towards the bottom of the list, ensure that Options and the Contextual Text Bar are both active.
Select the Crop Tool from the toolbar. You should now see some related options at the top of the application window. Where it says Fill: select Generative Expand from the dropdown menu.
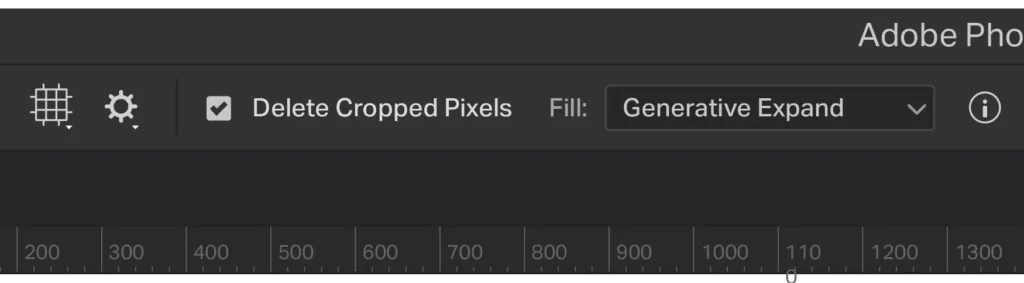
The crop options should look something like this, near the top of the application window.
Drag the Crop Tool across the extent of your image. In this example I want the macaw to be central, so I will drag one of the middle vertical nodes while holding the Option key (Windows: Alt)
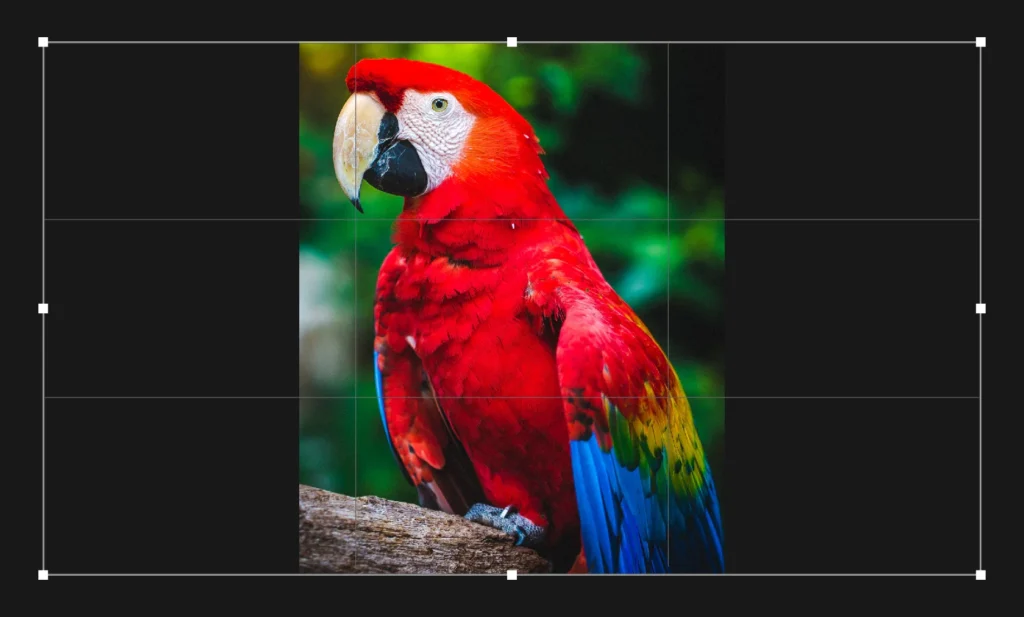
Adjusting the crop area.
Hit Return and Photoshop will start thinking about generating a fill into the expanded section(s). When completed the first option will be applied — there are another two options which you can cycle through using the on-canvas Contextual Text Bar, or by opening the Properties Window.

The Contextual Text Bar should look something like this, just click the carets to try the different options.
If you’re not happy with any of them, go to the Contextual Text Bar where you can (optionally) enter a prompt to guide the software… And click Generate to get three more ideas.
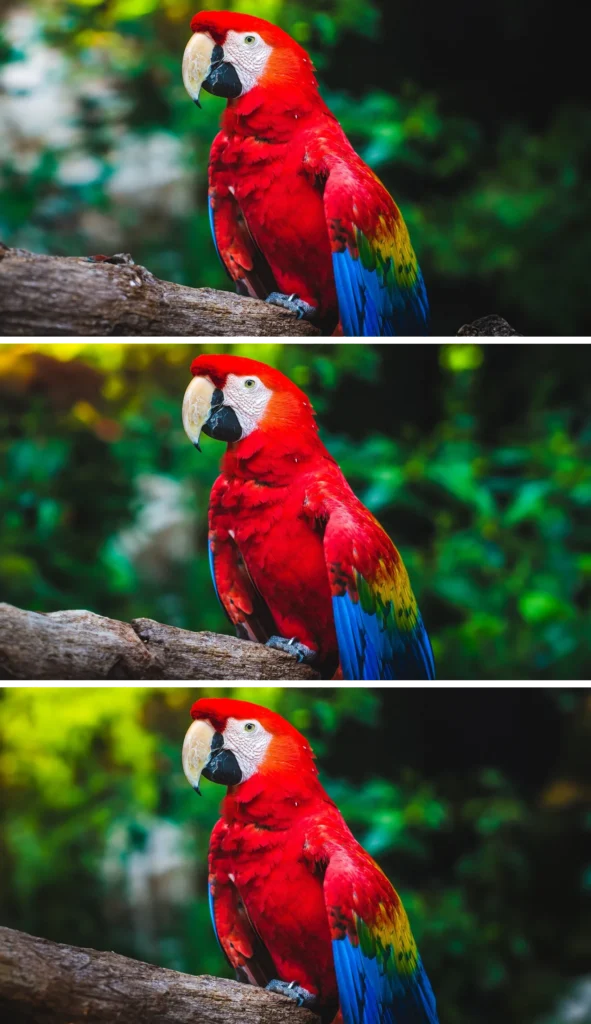
Here are the initial three ideas Photoshop generated.
Photoshop usually does a good job at blending the new content into the original, but you might spot a few anomalies. If you take a look at your Layers palette, then you will see that the generated content is on a new layer, with a mask applied.

This is how the generated content presents itself in your layer structure.
If required, you can play with feathering or painting on this mask to help blend the new content in; or just flatten the layers and use the Healing Brush tool to tidy up.
I have chosen the third option, and just spent a few minutes painting out distracting elements from the edges of the image.
The final landscape image.
I hope I have made a decent fist of explaining this feature. By giving you the opportunity to quickly add surrounding space to your subject, or even changing the orientation of a photograph, it’s a bit of a game changer.
—
Header Image: Hatched from the quite brilliant Everett Collection on Shutterstock.