Did you know that you can quickly colourise a black & white photograph in Photoshop? You do now — and very shortly you will know how to do it!

It’s always been possible to do this with Photoshop by ‘painting’ in the colours and playing with layer blend modes. However, making it look semi-convincing is a skill in itself and would likely take hours with most images. Let’s explore a new-ish feature of the program which makes this very easy indeed.
We’re going to be using a Neural Filter to pull this off. These are AI models that can make laborious retouching tasks much faster. We will look at some more of these in other posts.
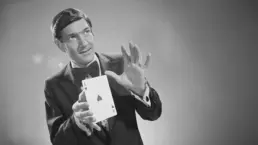
I love a good vintage commercial photograph, and Getty Images have made some wonderful examples available on Unsplash+. So let’s use a black and white image from there, like this one:

Here is our original photograph. Courtesy of Getty Images on Unsplash.
Firstly, make sure your picture is in RGB format. Grayscale will not work. If you need to, go to Image > Mode > RGB Color to fix this.
Next you want to go Filter > Neural Filters… A panel will appear and you need to select Colorize from the listed filters. The first time you use this, you will likely have to download the model to proceed.
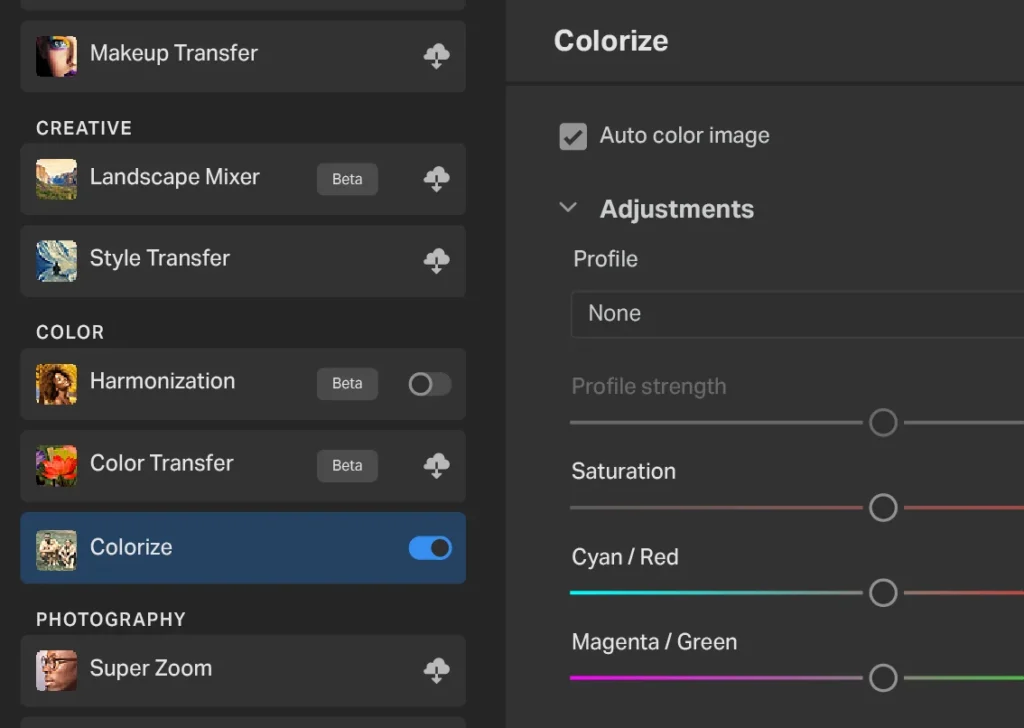
A detail of the Colorize Neural Filter panel.
By default, Photoshop will automatically create a colourised version of your image. There are a number of presets and adjustments that you can apply in the panel at this point. Once you’re happy and press OK, the coloured version appears as a new layer in your file. This means that you can continue to edit the result in the main interface, but can also roll back to the original if needed.
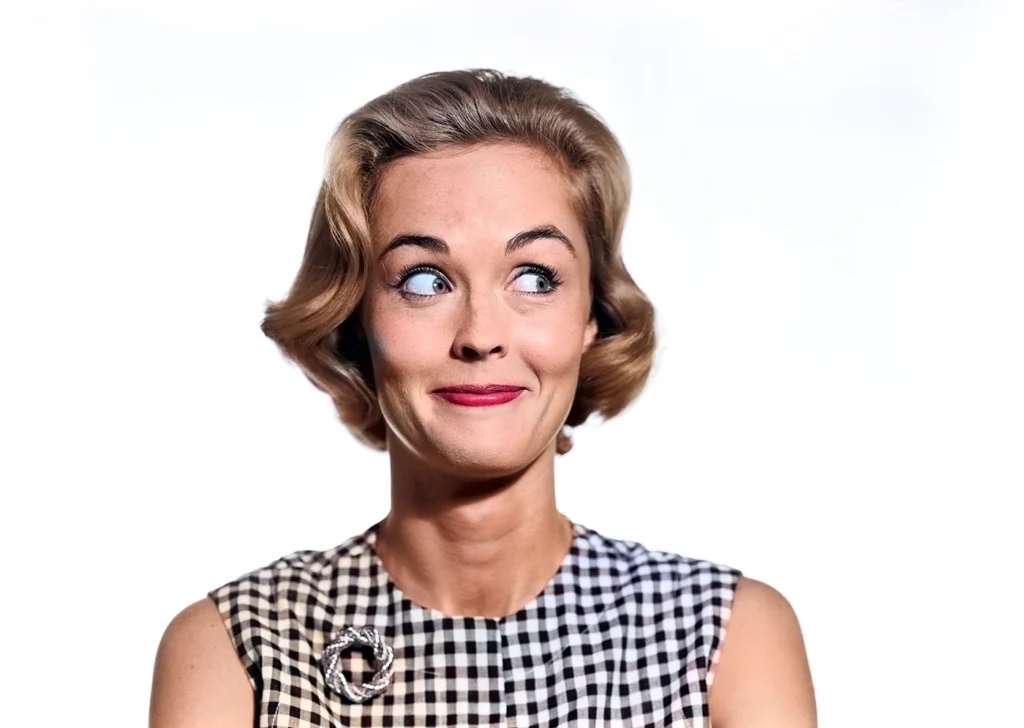
Here is the finished article. It actually needed very little adjustment from the automatic output.
Seriously, how easy was that? Happy colourising!
—
Header Image: Hatched from the quite brilliant Everett Collection on Shutterstock.