Quick Tricks are a series of blog posts shedding light on easily-missed features in your favourite design software. This time we are going to make a simple graphic blink / flash in After Effects, and then create a looping version.

This post contains flashing imagery so please beware of that if you are sensitive to such visuals.
Here is our circle shape on the stage of our main compositon. The comp is set to 30fps, with a 5 second duration. The goal is to have the circle blink three times and then stay visible on the fourth appearance.

Our heroic red circle.
For this example we will add seven keyframes, under the opacity effect (press T as a shortcut!), with a three frame spacer between them. Set the keyframe opacity values as follows = 100%-0%-100%-0%-100%-0%-100%
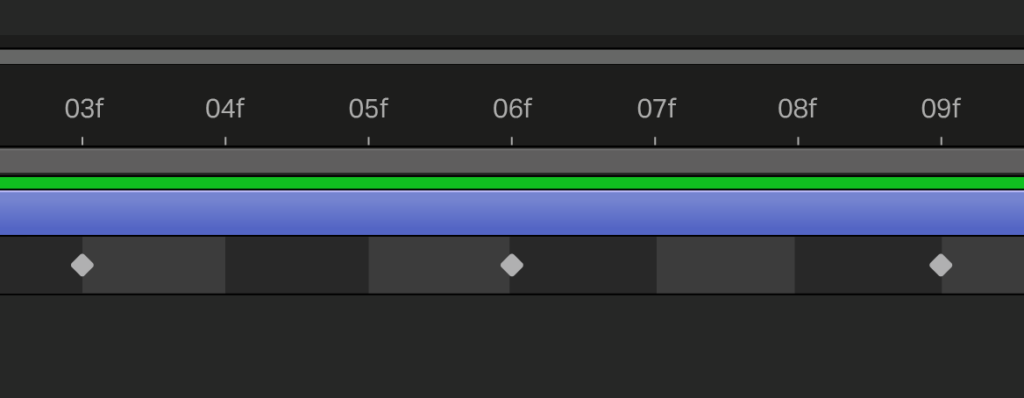
How the keyframes are spaced.
As default, this would produce a fade animation between the two states; but for a blink it needs to be binary! To change this, highlight the keyframes, right-click and choose oggle Hold Keyframe.
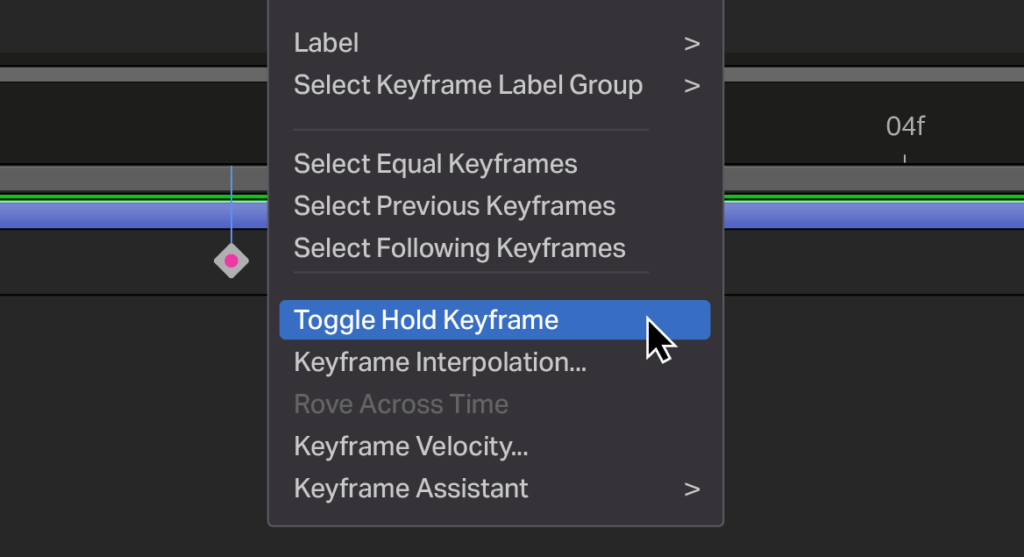
How to Toggle Hold Keyframe
Job done! Easy. But what if we want this animation to loop?

Here is the export.
How to loop!
Select your layer, right-click and choose Pre-compose. As best practice, be sure to give it a name — let’s call it ‘Blink_Loop’
Double click the Blink_Loop layer which now sits in your main comp to open it up. Now delete the final five keyframes. Let’s make the flash a little less intense by doubling the time involved. Press Command+K (Ctrl+K) and change the Duration of the comp to 0:00:00:12 which is 12 frames, and put the second keyframe in the middle of the timeline.
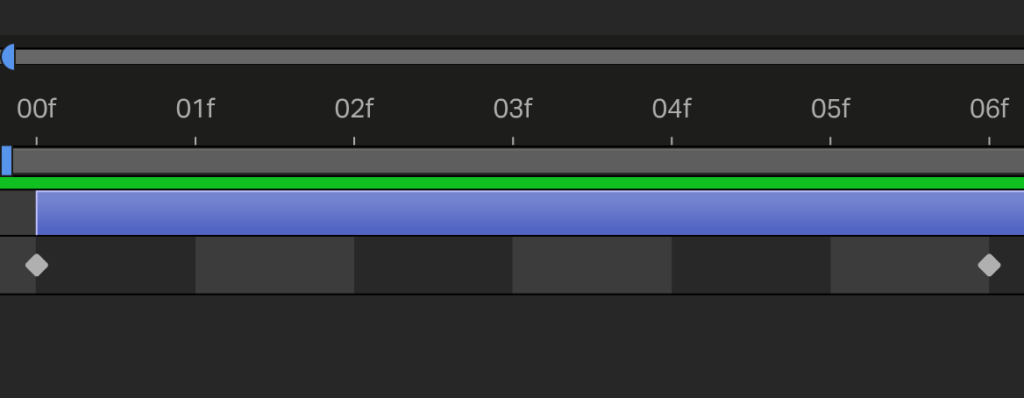
We just need the two keyframes and spacers for this.
Return to the main composition. Blink_Loop should now be much shorter than before. But we will soon change that! Right-click on that layer and choose Time > Enable Time Remapping. You’ll notice a Time Remap layer has appeared! Right click where it says Time Remap and choose Edit Expression.
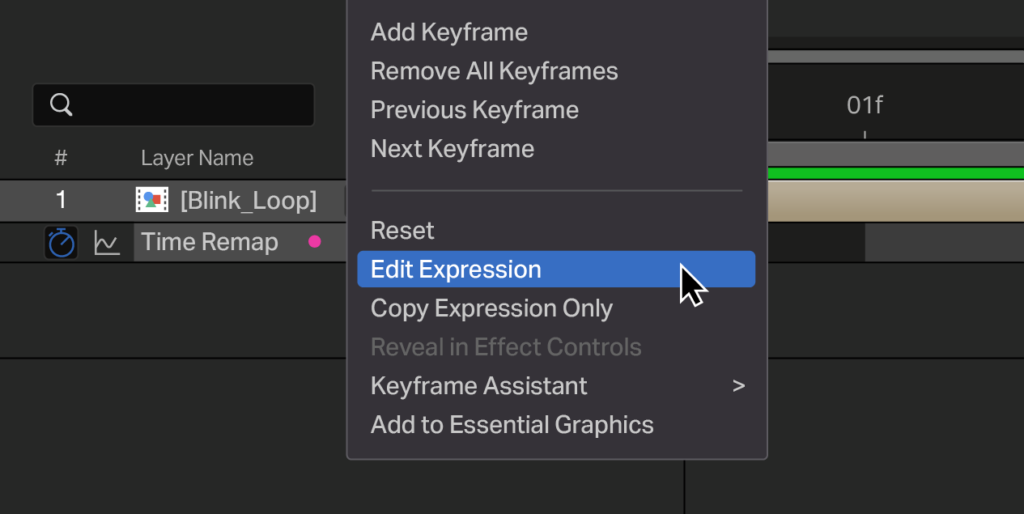
Adding an expression
Replace the text that is there with loopOut(“cycle”). Now you can drag the end of the ‘Blink_Loop’ layer across your timeline for as long as you want the loop to persist throughout your main composition.

Export of the looping blink animation.
Another handy expression to note is loopOut(“pingpong”) which will make your animation go to the end and then reverse to the start of the timeline, so you can do things like this:

Using the pingpong expression to reverse your loop at the end of the timeline.
—
Header Image: From the quite brilliant Everett Collection on Shutterstock.