For part two, we are moving onto some of the core concepts. Understanding these will be the foundation of learning the software. First up is Layers. Referred to as the building blocks of Cavalry, there are four types of layer, and we will begin by looking at Shapes.

Shape Layers
Shapes are polygonal objects that can be drawn in the viewport. They can take the form of a Primitive Shape (generated with defined attributes i.e. radius, height, width) or an Editable Shape (drawn manually in the viewport, using the pen or freehand tools). Note that it is possible to convert primitives into editable shapes, so that the curves and node points can be manipulated.
Three examples of Shape Layers are:
Capsule

A capsule primitive shape layer.
Having selected the Capsule tool, you can insert one of these primitive shapes anywhere in your viewport with a single click. Alternatively, hold Opt/Alt and click on the tool to instantly add a capsule to the centre of the viewport. You should see properties for your new shape appear in the Attribute Editor, so you can accurately edit its position, scale, length, etc.
Duplicator
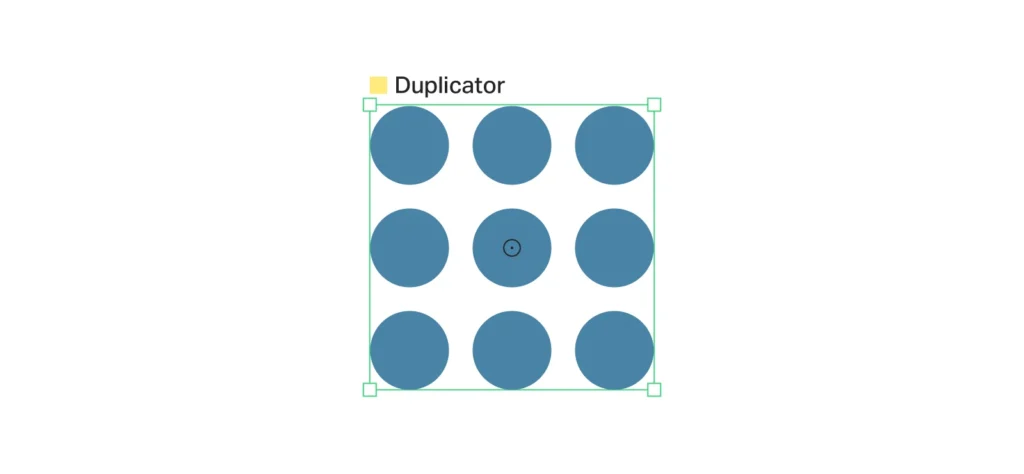
A duplicator example.
Here we have generated a circular ellipse. With the object selected, if we now click the Duplicator button from the Shelf (located in the top-right of the workspace); it will by default, create a 3×3 grid of copies of the circle. Again, the Attribute Editor will provide several options for animation and adjustment.
Text
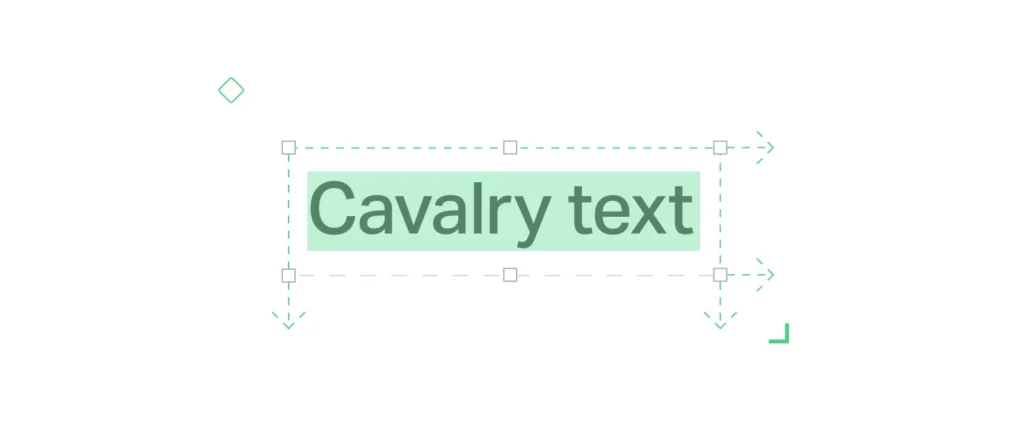
An example of a text box in Cavalry.
Select the Type tool. Click once on your viewport to make a text shape that resizes as you type. Clicking and dragging with the tool will draw a text box, where your typing fits within its boundaries (i.e. moving onto a new line).
Cavalry has a growing number of Shape types, and we’ve only covered three! To find out more, visit the shapes section of the documentation site.