Let’s kick things off by exploring the Cavalry user interface. If you have ever used animation or video software, then some of the concepts should bear some familiarity.

Overview
Here is the default workspace layout (correct as of v2) – if you wish, these panels can be arranged to your own preference. You probably can’t make out a great deal from the image below, and so we will zoom in and explore some of the panels.
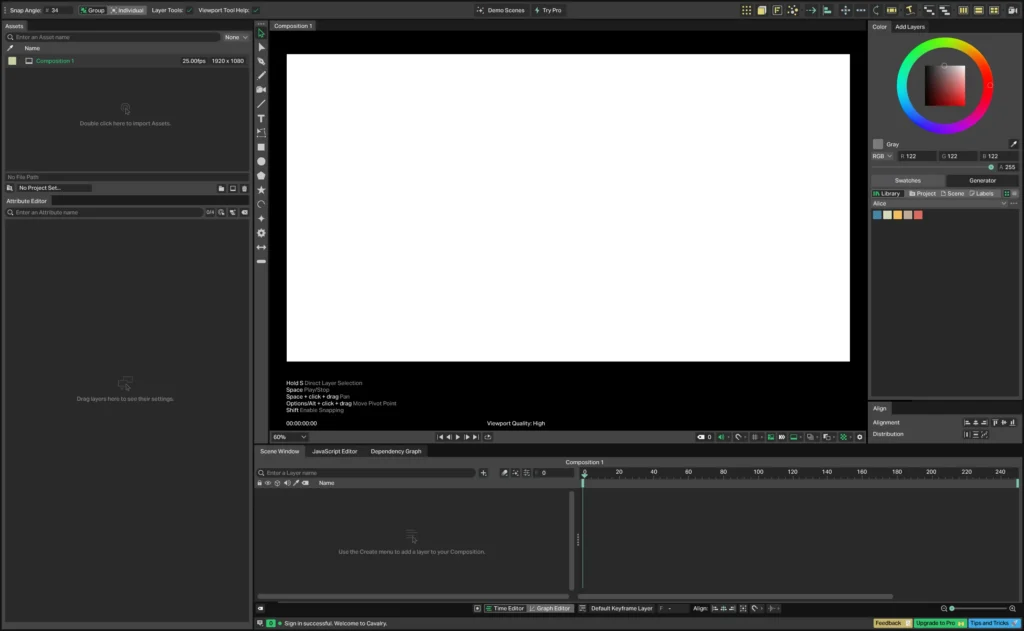
We are looking at a blank workspace – there is no project in progress here.
Viewport
Firstly, the viewport is where your composition is rendered and played back.
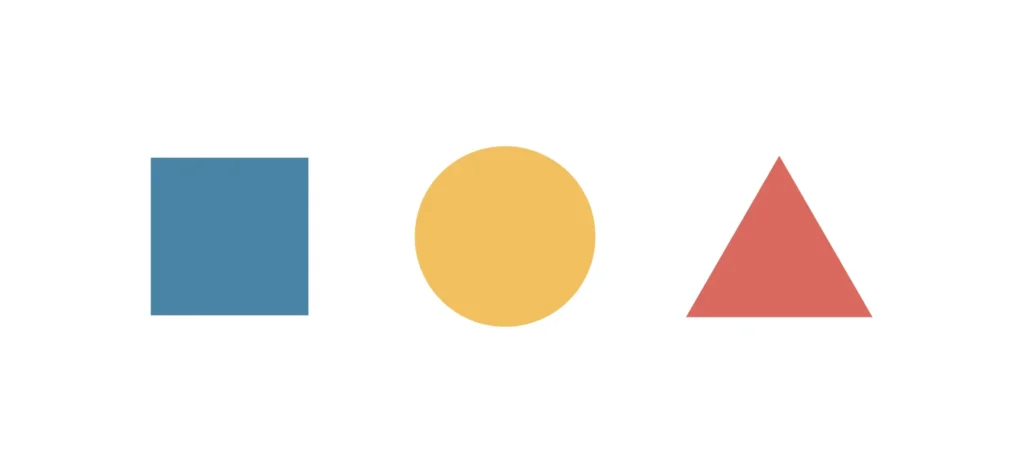
As an example, three primitive shapes sit in the viewport: a square, a circle, and a triangle.
There are also a number of controls at the bottom of the window, as described in the caption below. You’ll notice a small triangle icon next to some of them – these allow you to change associated settings.

Playback controls: First frame / Previous frame / Playback / Next frame / Last frame / Loop.

Tag filtering / Audio playback / Snapping / Grid / Update UI during playback / Playback caching / Show composition boundary / Onion skinning / Clipping mask toggle / Transparency Style.
Scene
The scene window shows your timeline and the layer stack for your project. You can add a new layer by clicking the + button (or pressing Cmd+.) Using this function you can search for and apply any layer type to your scene.
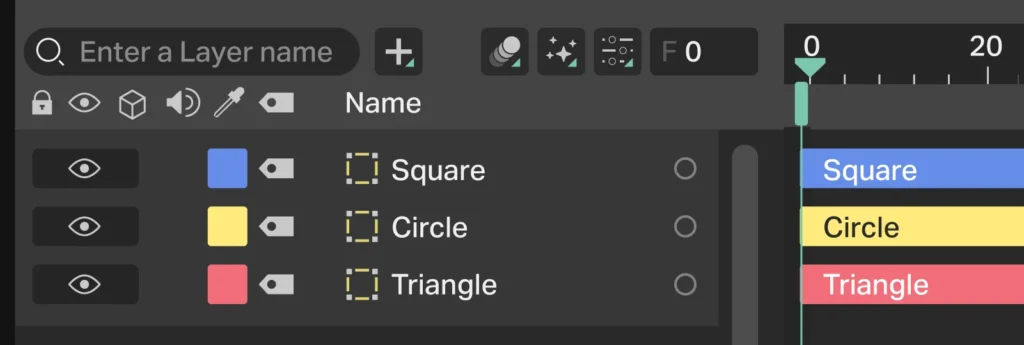
The scene window, with our three shapes.
While we’re here, we may as well explore how to animate a layer using the timeline! Lets say that from Frame 10, we want to reduce the scale of the Circle layer, and that this will occur over a period of 30 frames.
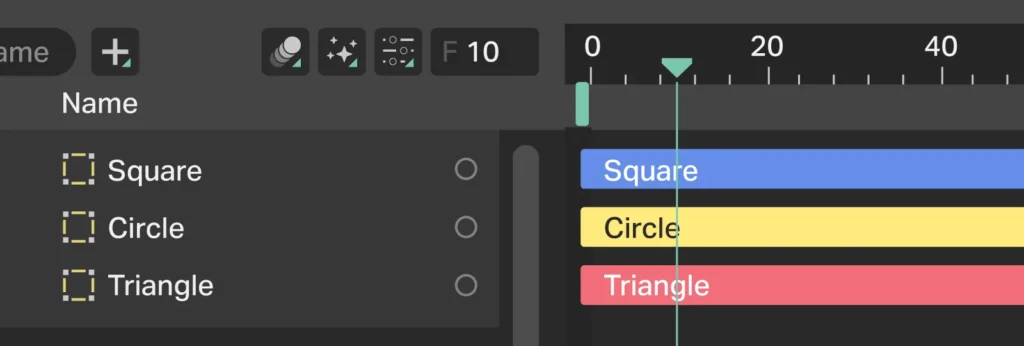
Step one, moving the frame marker.
Firstly we drag the triangular marker to F10, and then double click on the Circle layer to open its properties in the Attribute Editor.
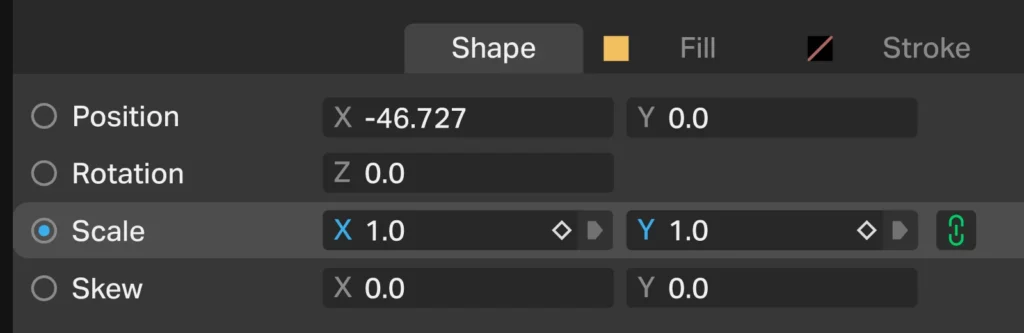
Editing attributes.
The Scale property has boxes for X and Y values. Click the chain icon to link these two values, which will maintain the proportions of the shape. If you hover over the X/Y value you will notice a little diamond icon – this refers to a Keyframe. Click on this and the icon will turn green.
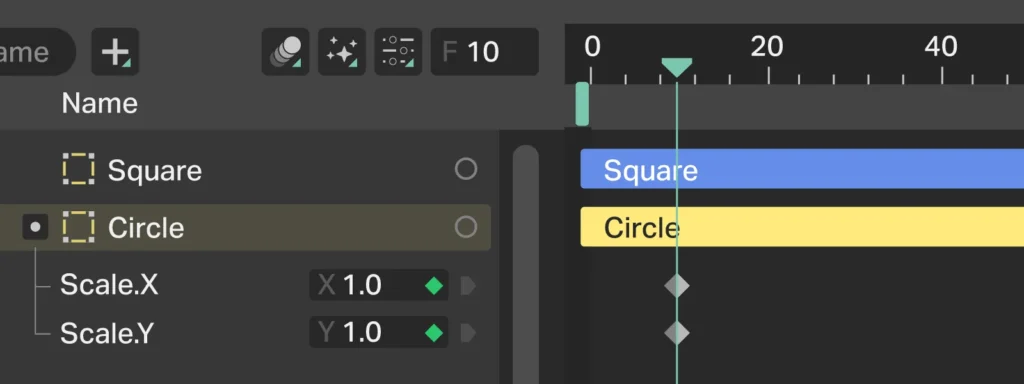
Updated in the Scene window.
There will be a change in the Scene window as well! Your keyframe is represented by a diamond icon. You will have two as we linked the X + Y values together.
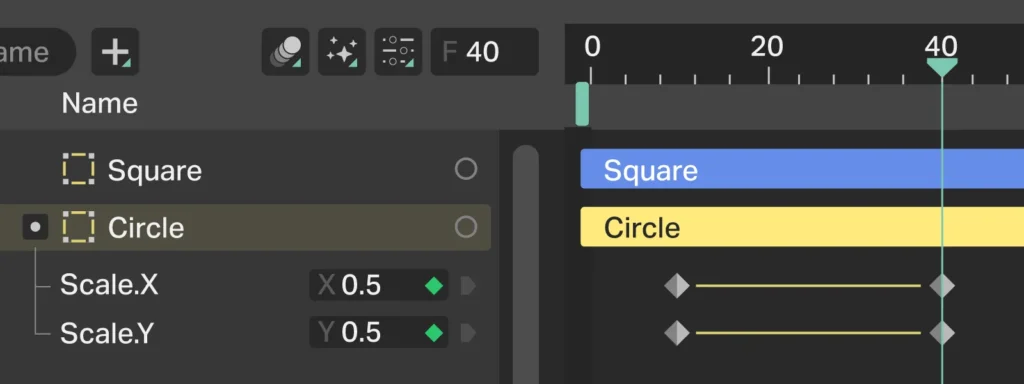
Now jump to F40 and change the attribute again.
To complete this animation, move to Frame 40 in the Scene window, and then simply change the value of the X or Y dimension (we’ll halve them to 0.5) either here or by going back to the Attribute Editor. Your ending keyframes should appear automatically, and that’s it!
Attribute Editor
The attribute editor is where you can manipulate settings for your individual layers. You can also connect them to other attributes, or control the timing of their application using keyframes.
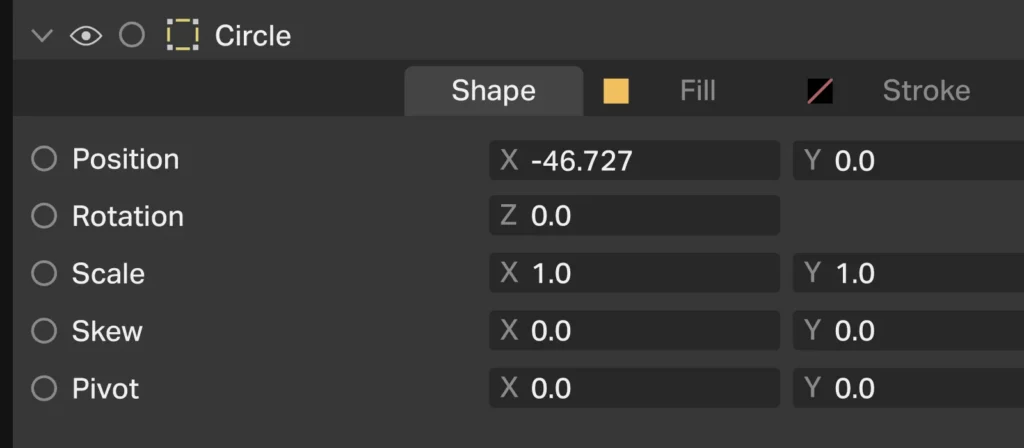
Here we have some of the attributes for the circle shape layer.
Assets
Assets lists your compositions and linked files. You can also edit your project settings here, deciding where your files are saved.
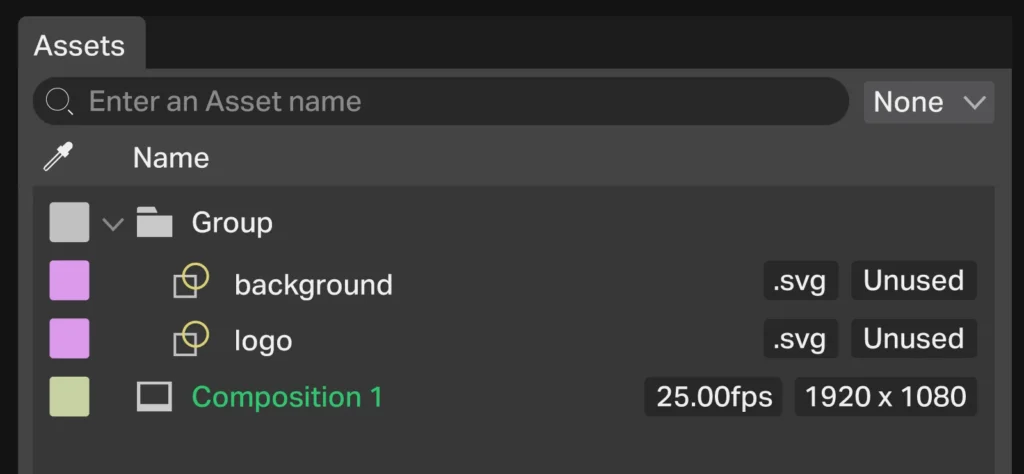
The assets window.
Tool Bar
The tool bar contains tools that allow you to draw new layers, or edit existing ones.
When drawing Shapes it’s possible to draw a Primitive or an Editable Shape.
A Primitive is a shape that has generated qualities, such as its radius or number of sides. These are edited in the attributes window, which we looked at earlier.
On the other hand, an Editable Shape is made up of nodes, which can be moved around or otherwise manipulated with the edit shape tool. If you have ever used a vector-based package such as Adobe Illustrator or Corel Draw, then the idea of paths and nodes should be very familiar!

Select tool – used to select, move, rotate, and scale shapes / Edit Shape tool – used on editable shapes to edit node points / Pen tool – used to draw editable shapes in the viewport / Pencil tool – used to draw freehand editable shapes / Camera tool – work with cameras in the viewport / Line tool – draws straight lines

Mesh tool – adds control vertices to deform images/shaders / Text tool – click once in the viewport to create a text box which resizes as you type. Click and drag to create a text box in which your text will stay within / Rectangle tool – add a rectangle to the viewport / Ellipse tool – add an ellipse to the viewport / Polygon tool – add a multi-sided shape to the viewport / Star tool – draws a star shape

Arc tool – creates an arc / Super Ellipse tool – creates an interesting combination of a rectangle and an ellipse / Cogwheel tool – creates a cog shape / Arrow tool – used to draw arrows / Capsule tool – draws a pill shape.
When you select a tool, a settings window appears in the top-left. Here you can change things like snapping behaviour, stroke width, or primitive shapes to an editable state.

Tool settings area
Colour
The colour window allows you to create colour palettes which can be grouped on a shared library, project, scene, or label basis. When you have set a colour using this window, you can create a swatch of it by dragging it to a palette. Using swatches means that you can easily change a colour later on in your project – it will then update in every applied instance.
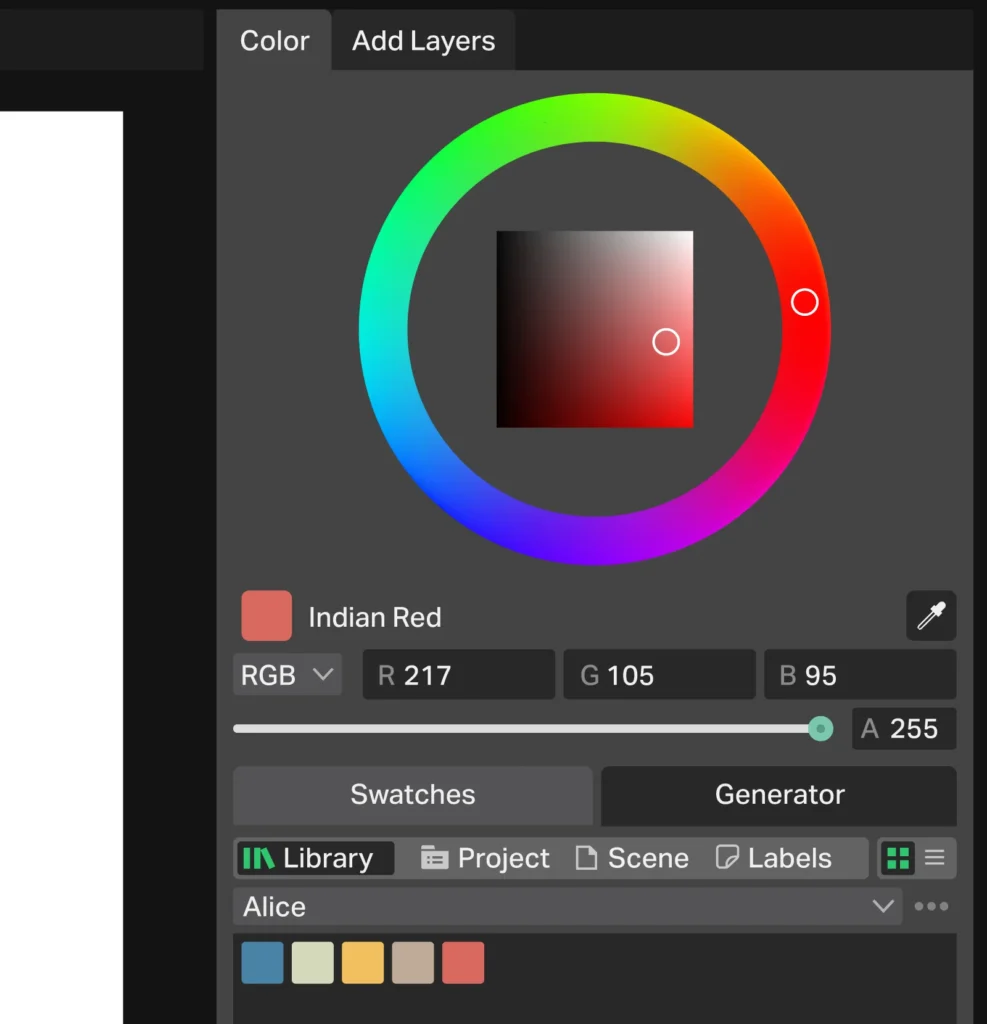
The colour window.
One feature to note, is that you can extract colour swatches from objects in your viewport. Select the shapes, go over to the colour window, click on the ellipsis (…), and choose Add Colours From Selection.
The Shelf
Located at the top-right of the Workspace, the shelf contains shortcut buttons to help speed up your working. I’ve listed these below, but to find out more, visit the Shelf page on the documentation site.

Duplicator / Extrude / Forge Dynamics / Particles / Auto-Animate / Align / Rig Control / Animation Control / Rubber Hose / Cel Animation

Text on Path / Sequence Layers / Stagger Layers / Horizontal Layout / Vertical Layout / Grid Layout / Create a Camera
Note that some of these are ‘Pro’ features, but you can actually try them out with a Starter licence. That will do for the interface tour! Next we’ll look at some of the core concepts behind the software. These are important to understand before we start to create animations.