The second layer type we will look at is Behaviours. These can be thought of as effects.

Behaviours
Behaviours are used to animate or deform other layers. Here are three examples:
3D Matrix
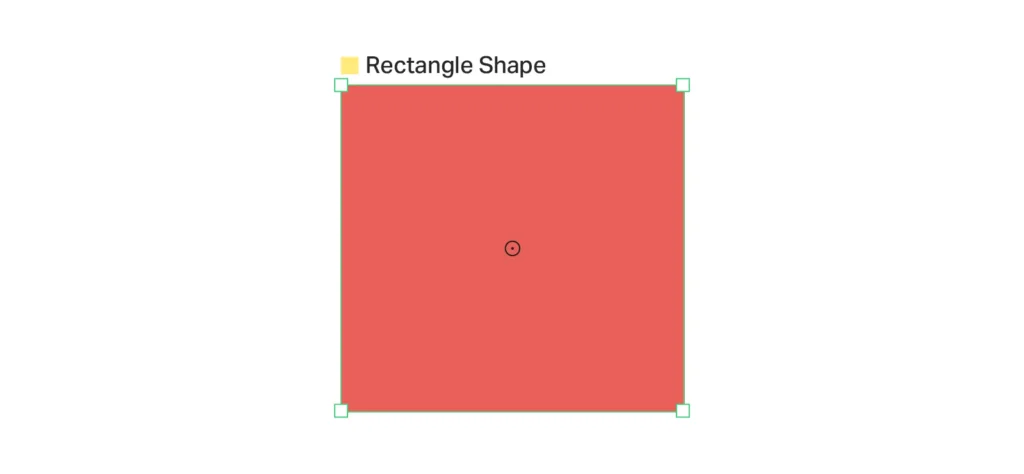
Red square
Here we have created a square shape. To edit three dimensional properties of the square, go to the Attribute Editor > Deformers > + Button > 3D Matrix. You’ll see a new Layer in your Scene stack called 3D Matrix [Rectangle Shape]. Double click on that to edit properties in the Attribute Editor.
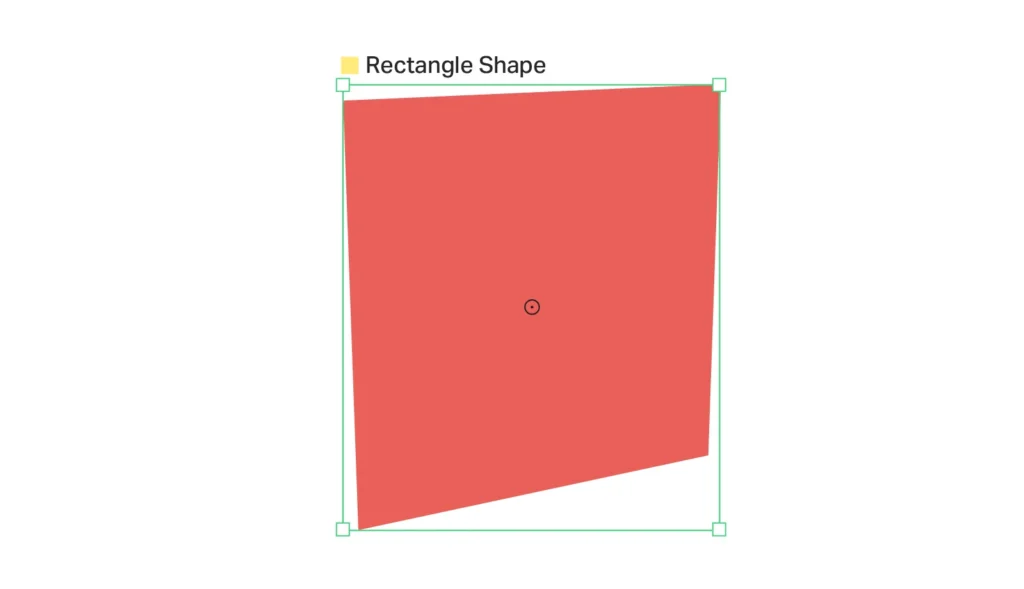
Square with edited 3D properties
In this example we have changed the Rotation: X property to 14.0 and the Rotation: Y property to 28.0.
Boolean
This behaviour is similar to the pathfinder tools in Adobe software, allowing you to combine overlapping shapes together in different ways. The modes are: Union (adds to shape) / Subtract (clips the shape) / Intersect (removes everything outside of the overlap) / and Exclude (retains the non overlapping areas).
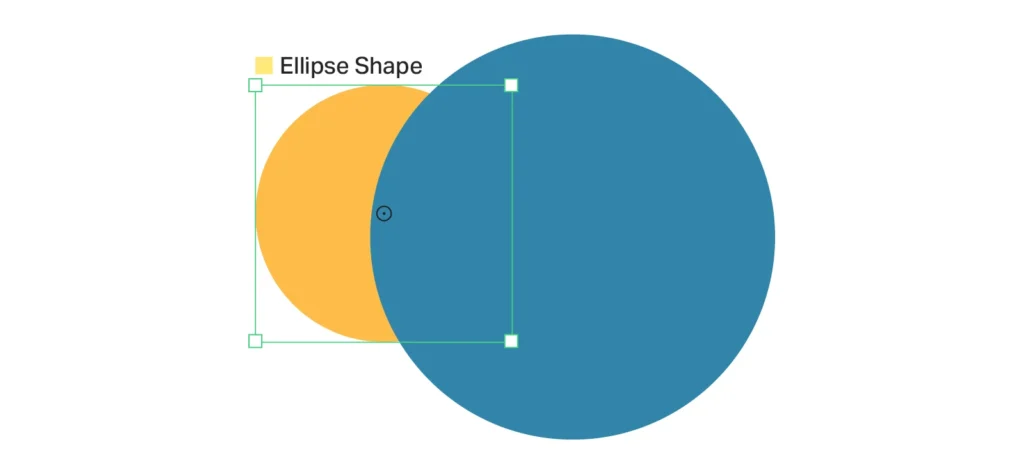
Two ellipses overlapping
Draw two circles and make them overlap in the viewport. Go to the Attribute Editor > Ellipse Shape > Deformers > Boolean. Double click on the new Boolean [Ellipse Shape] layer to open it in the Attribute Editor. You will see a Clipping Shapes property in there.

Making a connection
Now, in the Scene panel, drag from the small circle to make a connection between Ellipse Shape 2 and the Clipping Shapes property. You can choose from the four modes.
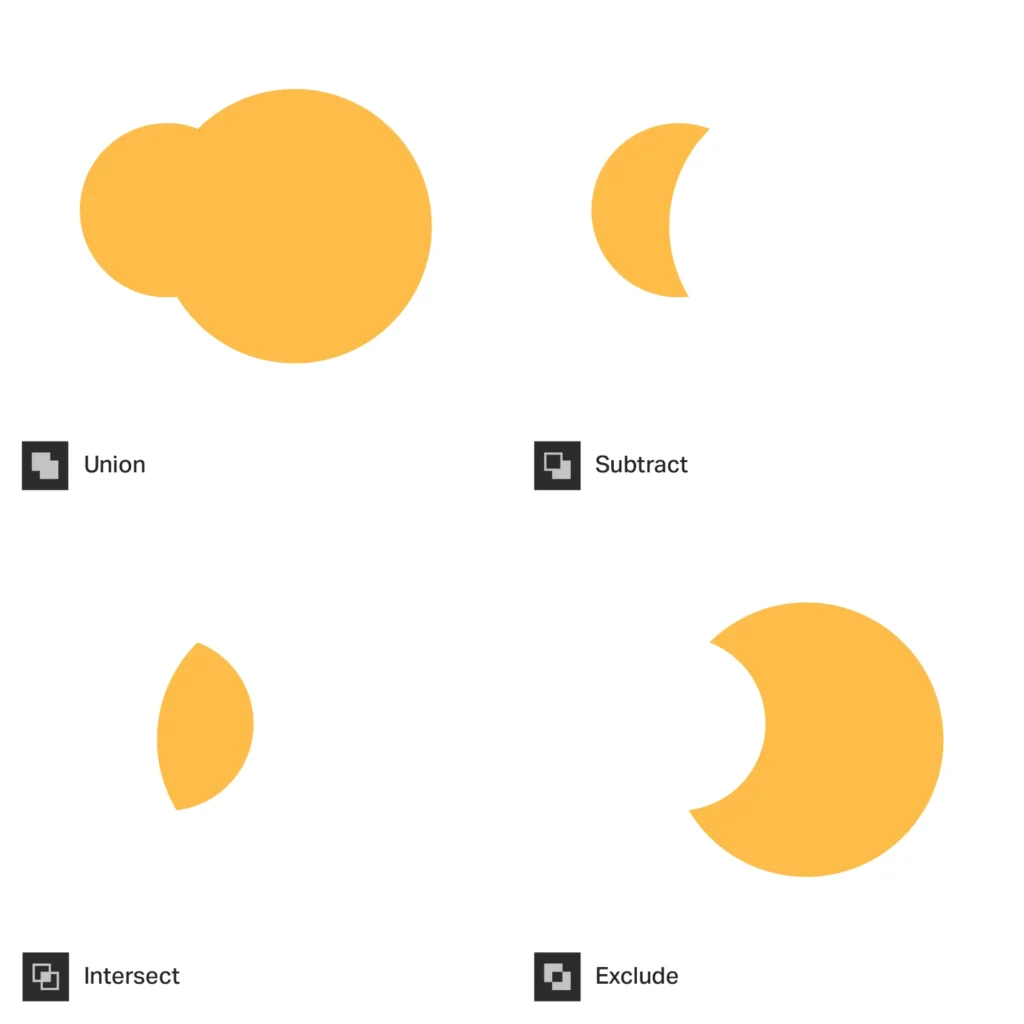
Boolean results
This is non-destructive and can be changed at any time. Turn off the visibility of Ellipse Shape 2 in the Scene Window to see the result.
Add Divisions
Sometimes in order to make animations run more smoothly, it is neccessary to manipulate the node points on your shape layer. Here we have a polygon which has 5 points – a pentagon.
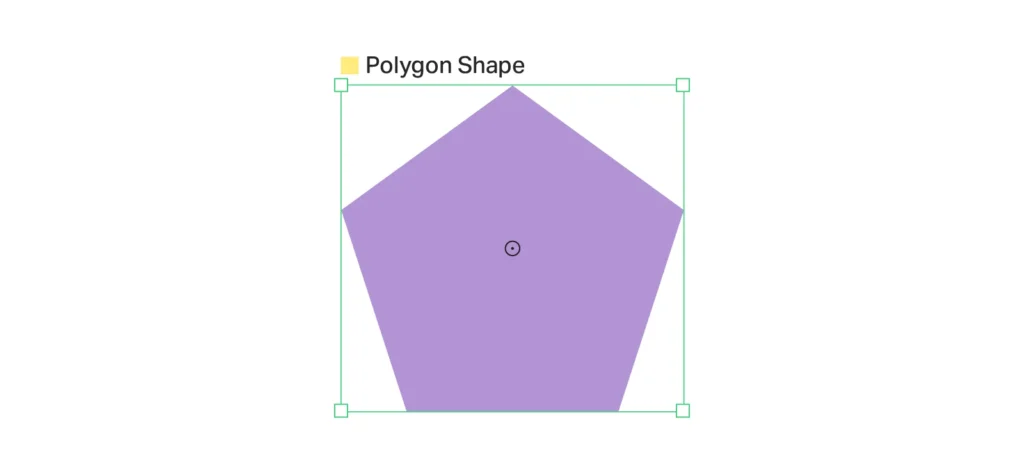
Pentagon shape layer
Let’s say we want to morph it into a shape that has 15 points. Click on the + button to add a Deformer in the Attribute Editor and choose Add Divisions. Double click on the Add Divisions Layer in your Scene window, and you will see some options appear in the Attribute Editor. Change the Number of Divisions to 2.
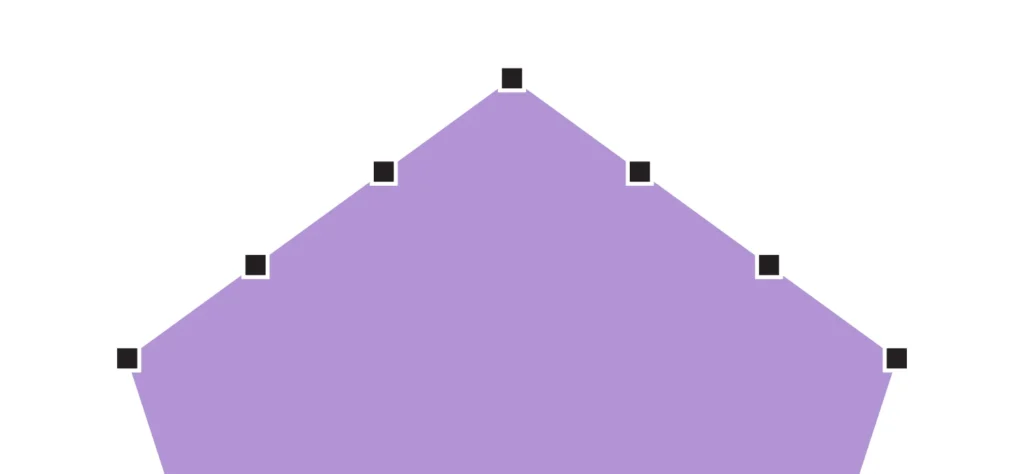
Close up of the pentagon showing the new node points
If you now select the Edit Shape Tool, and click on the pentagon you will see that two extra nodes have been added between each original point. If needed, you can make this an editable shape and adjust the starting position of these node points to improve the transition.
For a more comprehensive guide to Behaviours in Cavalry (and there are a lot of them), visit the dedicated section of the documentation site.