
Photoshop Channels are grayscale images that store different types of information.
These can take the form of:
- Colour information channels. For example: if you open an RGB image in Photoshop, you will have individual red, green, and blue channels, plus a composite channel where edits to the image are made (across the three colours).
- Alpha channels store a selection as a grayscale image, which is a great way to manage masks.
- Spot colour channels specify additional plates for printing with spot inks.
Colour information channels can be manipulated to quickly add some cool styles to your photographs. This post demonstrates some techniques, and is intended to inspire further experimentation.
For these examples I am converting the base image to greyscale, and then back to RGB. This makes each plate contain the same information. You can also perform the edits described below to a colour image, so do try it out!
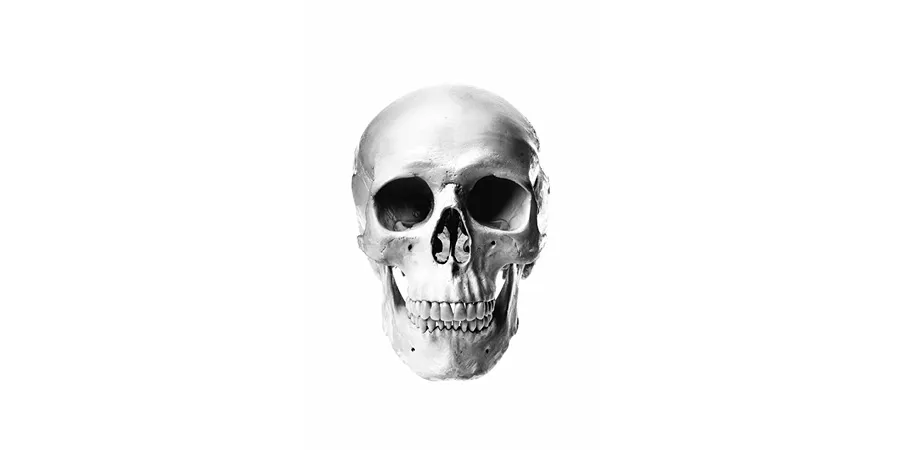
This is the base image i’ll be using in this demonstration. It has been converted to Grayscale and then back to RGB in Photoshop.
Remember that in RGB mode, black = 0 of that colour, while white is full = 255. On each channel, the varying tones of a photograph are made up of greys.
Channel Painting
One of the quickest techniques is to directly paint or fill within a channel (or channels!).
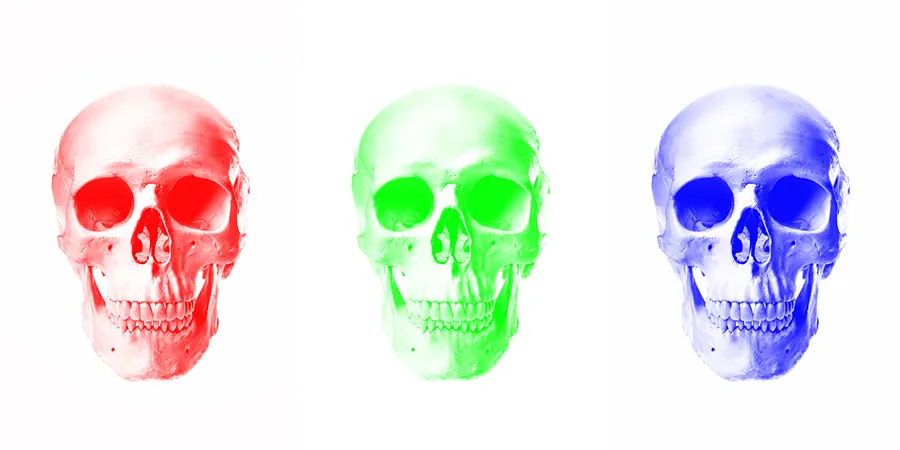
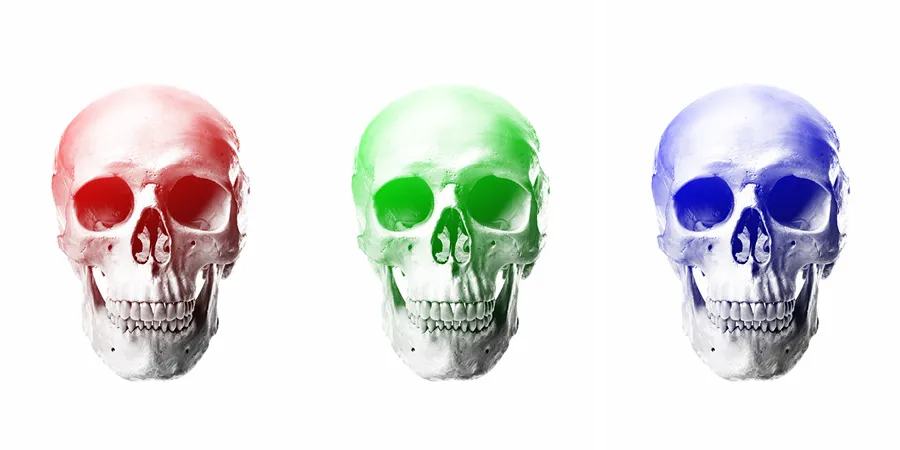
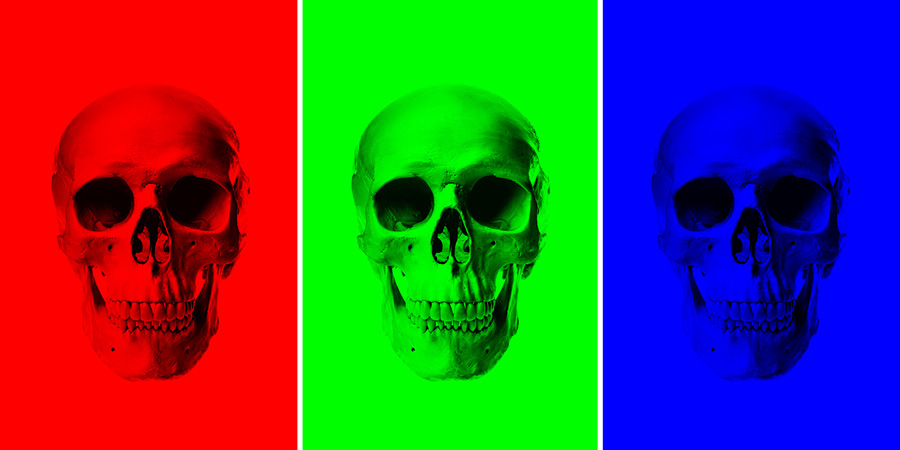
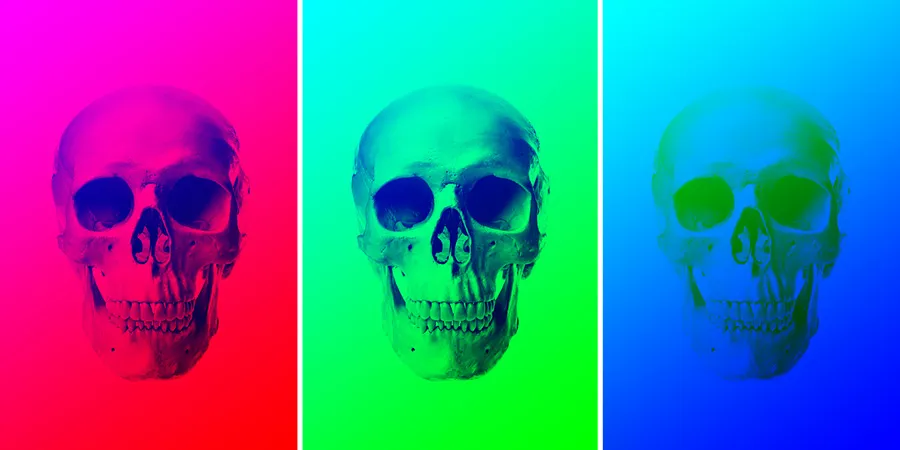
These three skulls have had one channel completely filled with white. Painting in white means that channel is applied 100%. From L-R, red channel, green channel, blue channel.
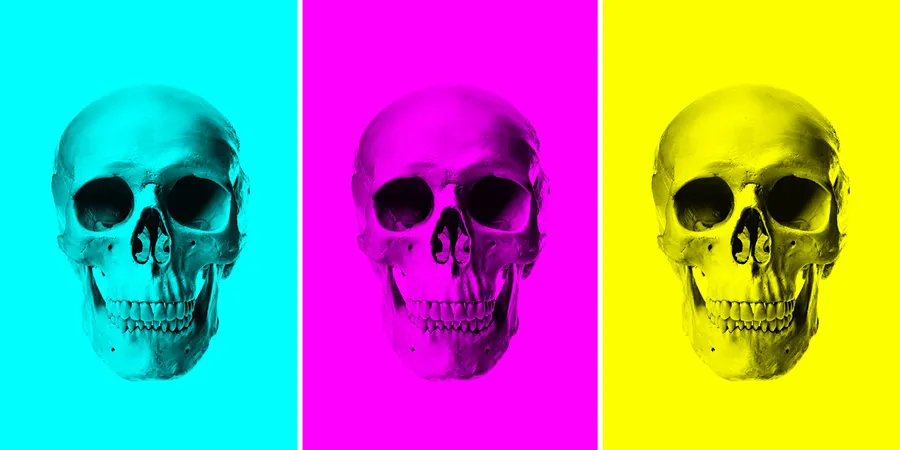
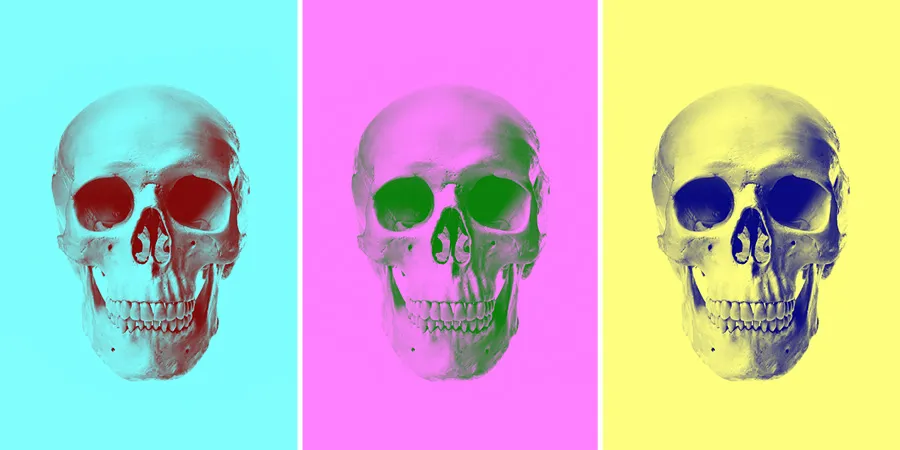
These three skulls have had one channel completely filled with black. Areas of black on a channel are at 0% application. From L-R, red channel, green channel, blue channel.
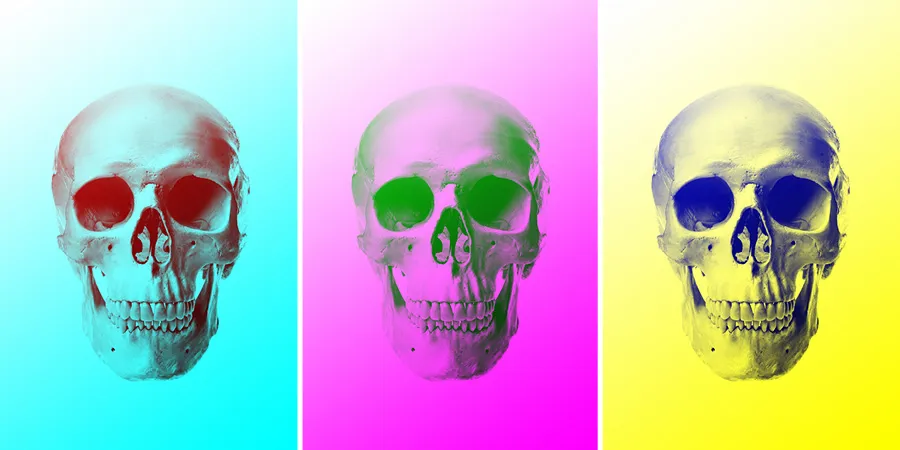
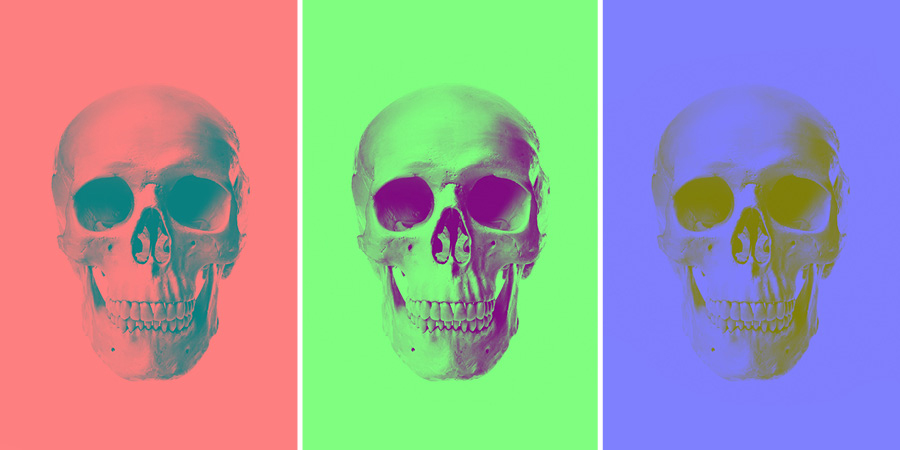
These three skulls have had one channel completely filled with grey. Note that they appear between the white and black examples in colour/tone. From L-R, red channel, green channel, blue channel.
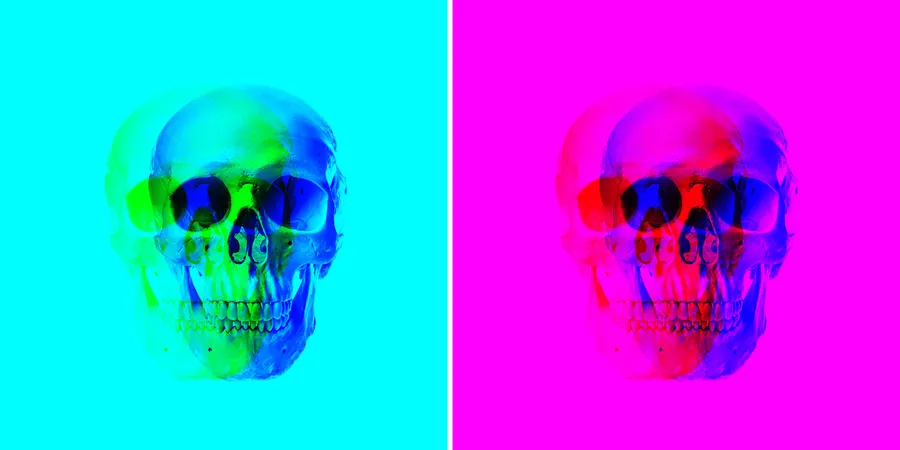
Inversions
Another very quick edit is to invert a channel.

Each of these three images has had a channel inverted. From L-R, red channel, green channel, blue channel
Transparent Gradients
By this I am meaning either black or white graded from 100% to 0% transparency. The gradients in this blog post are all linear, but try playing with radials and other types too!
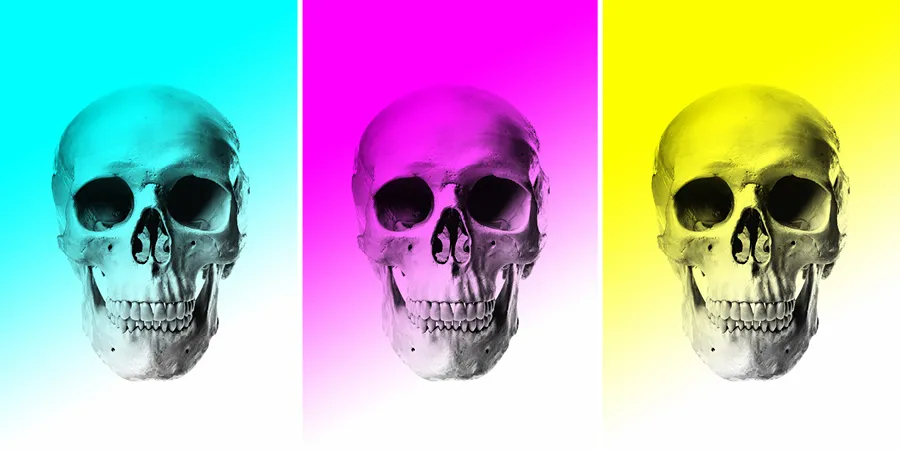
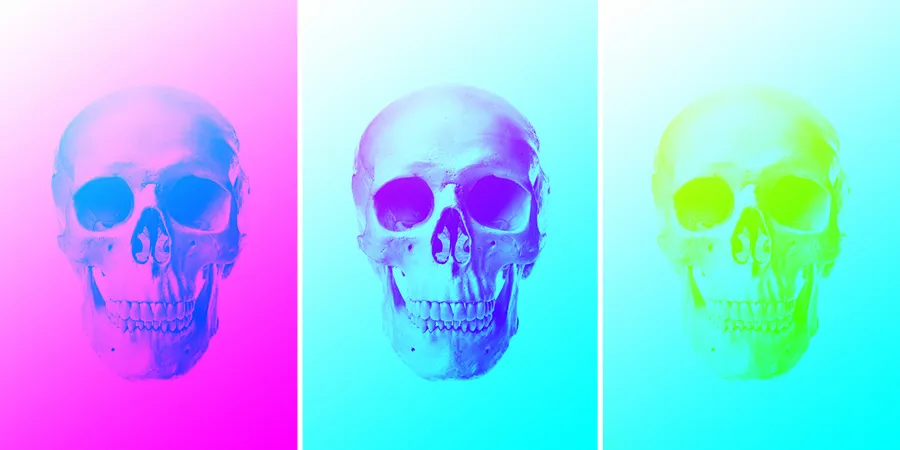
These three skulls have had a white > transparent gradient applied to one channel. From L-R, red channel, green channel, and blue channel.
These three skulls have had a black > transparent gradient applied to one channel. From L-R, red channel, green channel, and blue channel.
Opaque Gradients
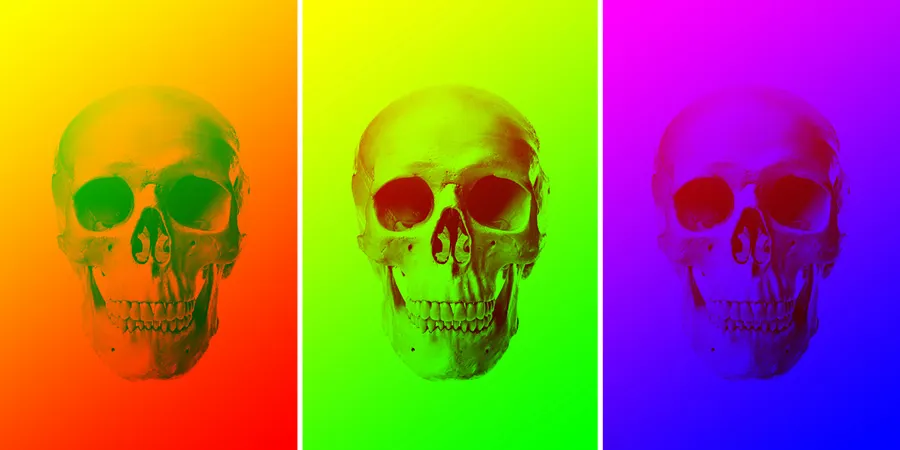
These examples have had a simple black & white linear gradient applied to a channel. White from the top left corner, to black in the bottom right.
This is what happens when you apply an opaque white > black gradient to one channel. White was from the top-left corner, to black in the bottom-right corner. From L-R, red channel, green channel, and blue channel.
Combinations
Combining some of the techniques described above results in some interesting, colourful effects as you can see.
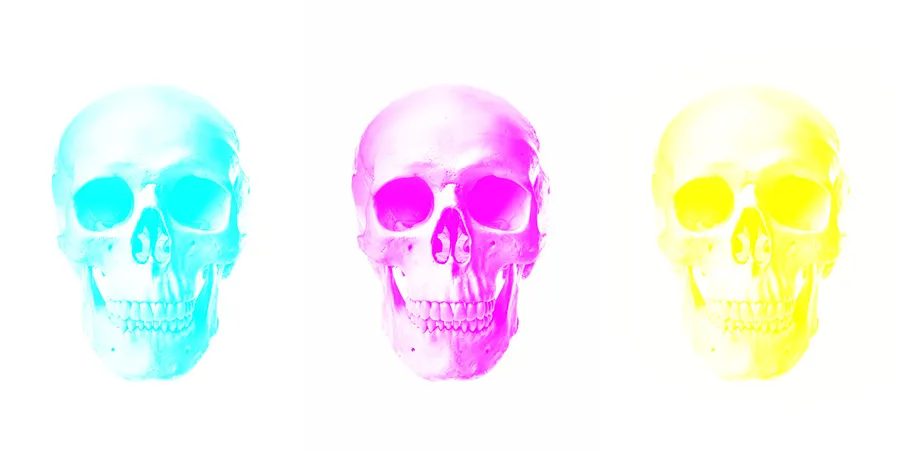
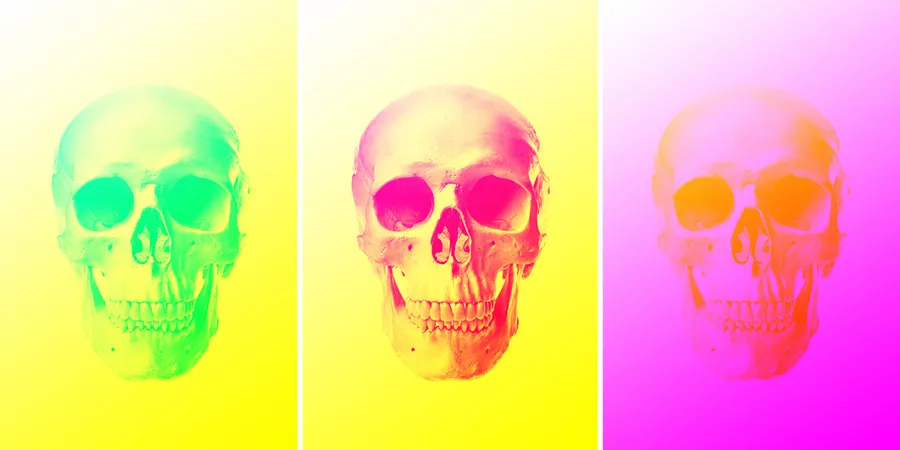
These three specimens have had two channels filled with white. From L-R: white fill applied to the green/blue channels; white filled red/blue channels; white fill applied to the red/green channels.
These three images have had two channels filled with black. From L-R: black fill applied to the green/blue channels; black filled red/blue channels; black fill applied to the red/green channels.
These three skulls have had two channels filled with grey. From L-R: grey fill applied to the green/blue channels; grey filled red/blue channels; grey fill applied to the red/green channels.
Combinations of a black fill and a gradient. From L-R: black blue channel fill with a b/w gradient applied to the green channel; black blue channel fill with a b/w gradient to the red channel; black green channel with a b/w gradient applied to the red channel.
These three skulls are the result of a black fill and a gradient. From L-R: black green channel fill with a b/w gradient applied to the blue channel; black red channel with a b/w gradient applied to the blue channel; black red channel fill with a b/w gradient applied to the green channel.
These images show combinations of a white fill and a gradient. From L-R: white fill on blue channel with b/w gradient on green channel; white blue channel with b/w gradient applied to red channel; white green channel fill with a b/w gradient applied to the red channel.
More combinations of a white fill and a gradient. From L-R: white green channel fill with b/w gradient on blue channel; white red channel fill with b/w gradient on blue channel; white red channel fill with b/w gradient applied to the green channel.
Movement
One of the coolest techniques possible with channels is moving them around. I’m sure that you can imagine plenty of creative possibilities from doing so, especially when you are mixing images together!
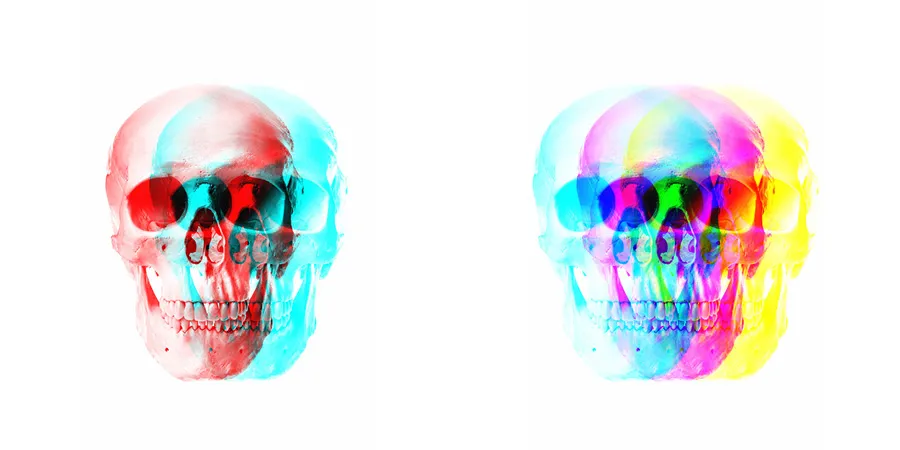
These two images demonstrate the effects of moving a channel or channels!
Combinations of a black fill and then the movement of the other two channels.
Filters
You can also experiment with Photoshop filters to create some unique styles! It’s well worth exploring blurs and halftones for example.

These three have had a mosaic filter applied to one channel. From L-R, red channel, green channel, blue channel.
Making composite images
The real fun can be had when you copy a channel from an image and then paste it into another. In the example here, I used two base images with a similar tone, each being fairly dark. I found this seemed to work best rather than mixing light and dark images, but by all means experiment yourself!
When you have your images within their channels, you can play with the Levels > Output Levels to adjust the intensity of the darkest and lightest areas of the scene. This will help you get the colours just right.
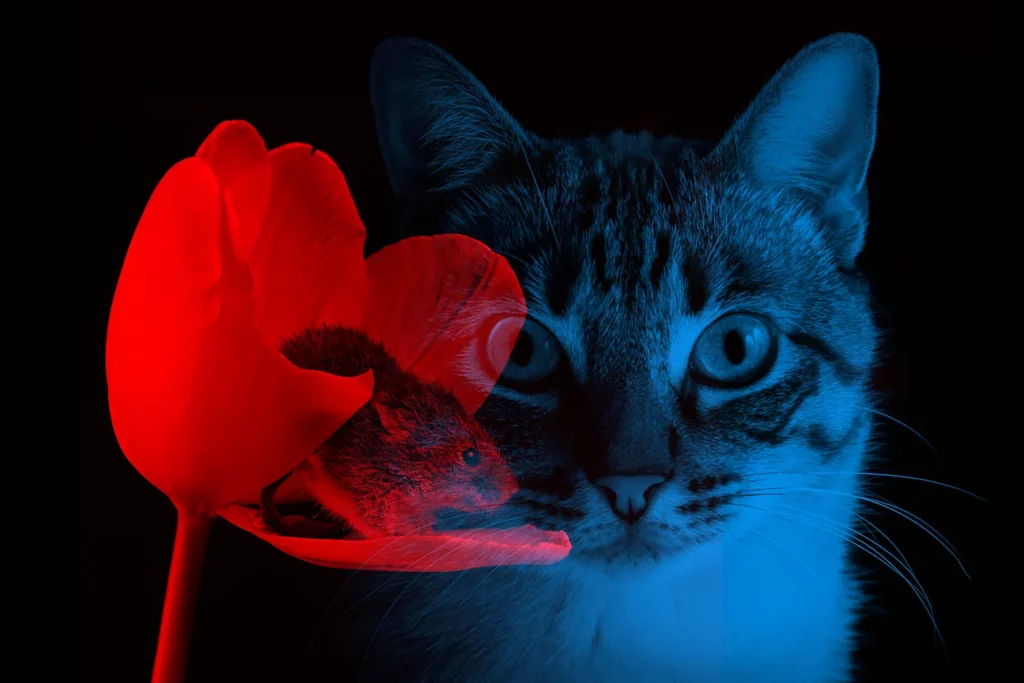
Two images have been combined here using channels. The cat appears on the green and the blue channel, while the mouse is on the red channel.